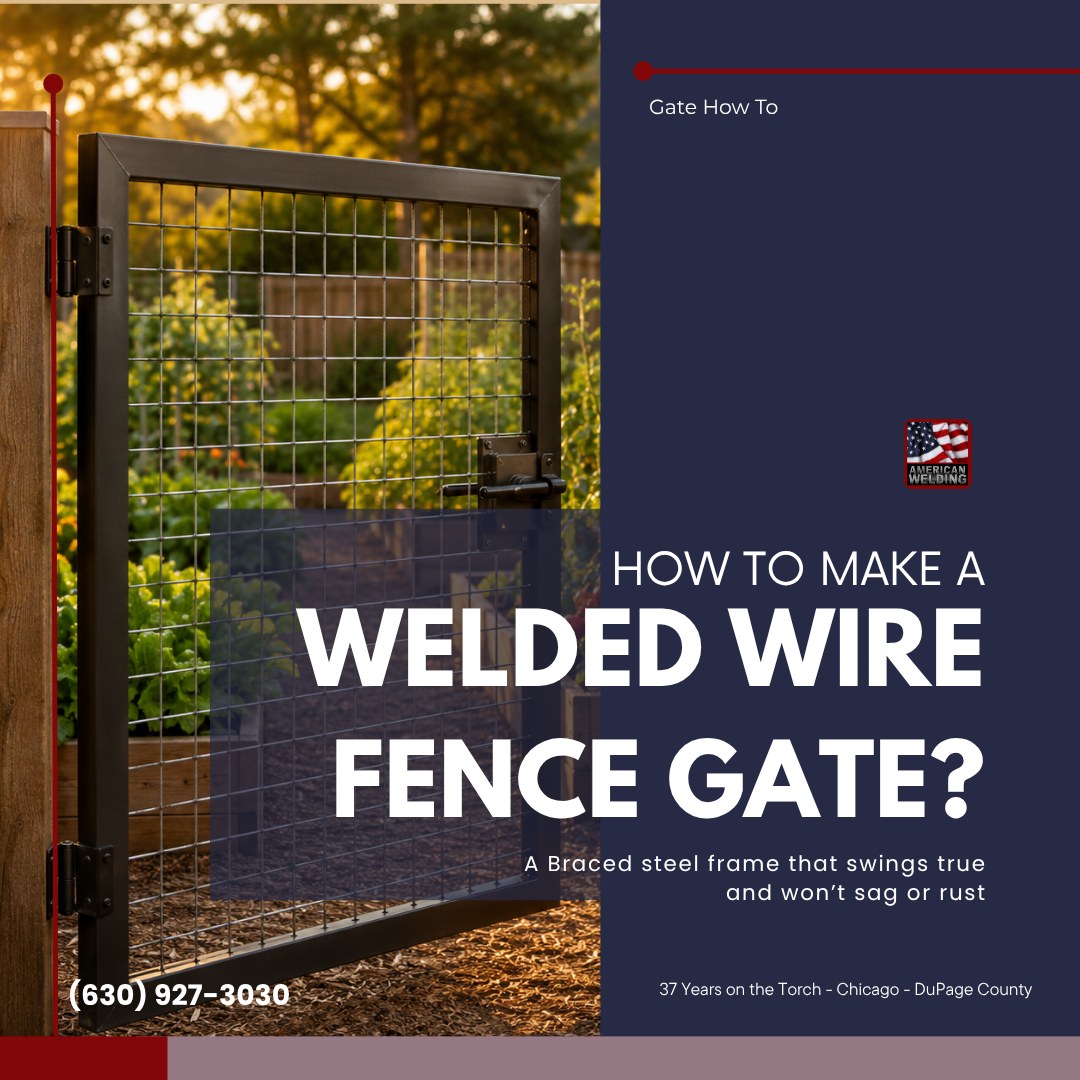
How to Make a Welded Wire Fence Gate
A fence gate is the one part of your fence that moves.
That's why it's the first part to fail.
Build it right and it swings clean for decades. Build it wrong and it drags, sags, and rusts in a season.
A welded wire fence gate is just a braced rectangular frame with welded-wire mesh across it. The mesh keeps dogs and kids where they belong, but the frame does the real work. I've built and fixed a lot of these over 37 years, and almost every bad gate fails for the same few reasons. Here's how to do it right.
The Short Answer: What Goes Into a Welded Wire Fence Gate
The whole job in one breath: measure the opening, build a rectangular frame about an inch narrower so it swings free, square it and join the corners, cut welded-wire mesh to fit and fasten it on, add a diagonal brace so it can't sag, then hang it on heavy-duty hinges, add a latch, and check the swing.
Two things separate a gate that lasts from one that fails: a square, rigid frame and a brace running the right direction. Everything else is detail.
It All Starts With the Frame
The mesh gets the attention, but the frame is the gate. If the frame flexes, the mesh can't save it.
Size it about an inch narrower than the opening — roughly a half-inch of gap on each side. That clearance lets it swing without scraping the post and leaves room for the hinges. Build it tight and it binds the first time the ground shifts. Measure the opening top and bottom, because a lot of them aren't as square as they look.
Tools and Materials You'll Need
You don't need a full shop, but you do need the basics:
- Square steel tube or angle iron for the frame — the backbone of the gate
- Welded-wire mesh panel sized to cover the frame
- A welder, or a drill and bolts for the bolted route
- Angle grinder with cut-off and grinding discs
- Tape measure, a good framing square, and strong clamps
- Heavy-duty hinges and a latch rated for the gate's weight
- Wire ties, clips, hog rings, or weld tabs to fasten the mesh
- Steel for a diagonal brace
- Rust-inhibiting primer and exterior paint, or plan for galvanizing
That last one isn't optional. Bare steel outdoors is rust waiting to happen.
How to Build a Welded Wire Fence Gate, Step by Step
Take these in order. Rushing the early steps ruins the later ones.
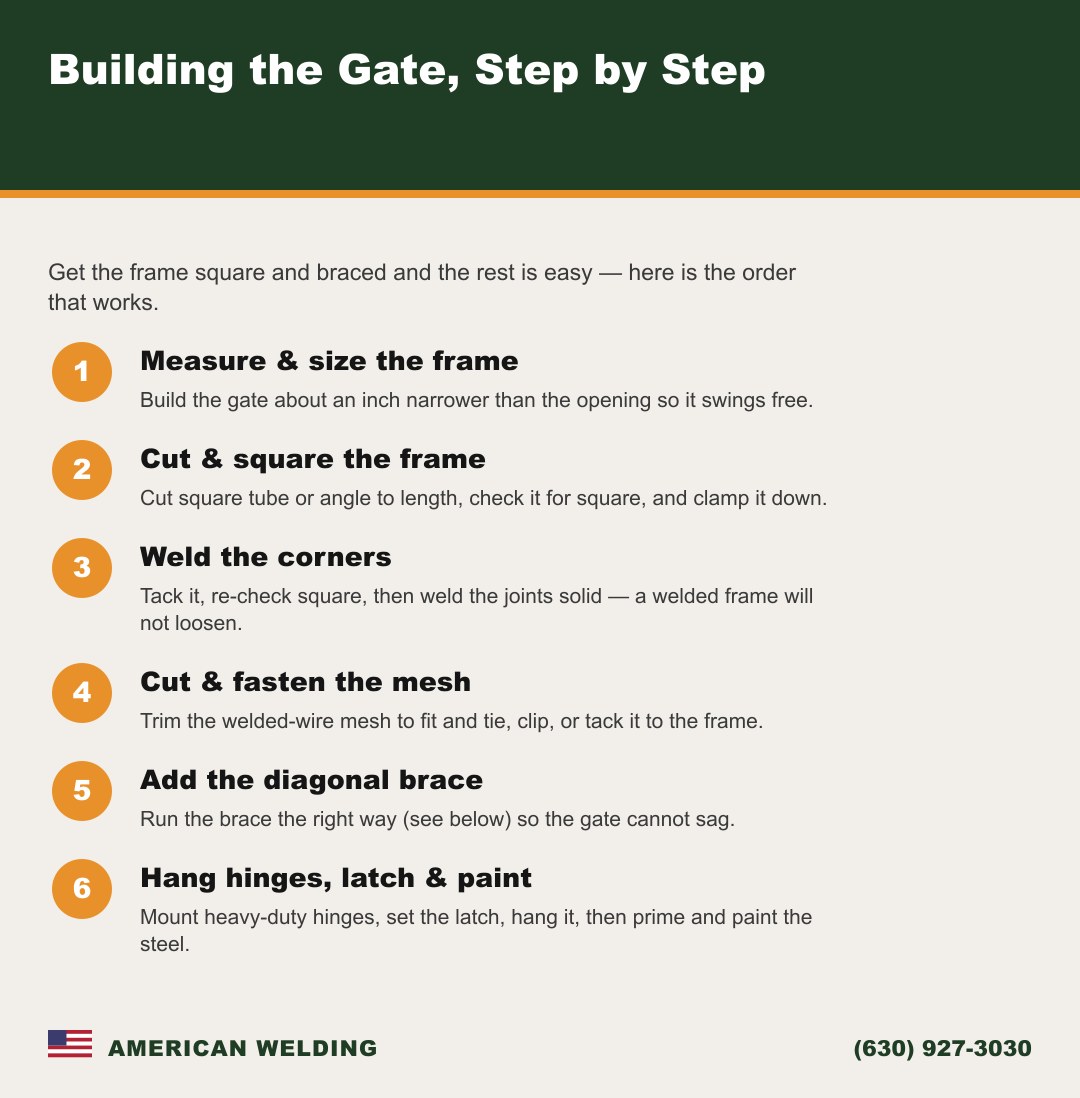
- Measure the opening and size the frame. Measure post-to-post, then subtract about an inch so it swings free.
- Cut the frame pieces. Cut your tube or angle to length. Clean cuts make squaring easier.
- Square it up and join the corners. Clamp the pieces flat and check both diagonals — when they match, it's square. Then weld the corners (or bolt them). Don't skip the square check.
- Cut the welded-wire mesh to fit. Lay it over the frame and trim with the grinder or bolt cutters.
- Fasten the mesh to the frame. Use weld tabs, clips, wire ties, or hog rings around the perimeter so it stays flat and tight.
- Add the diagonal brace. Fit it corner to corner, running the correct direction — more on that below.
- Mount the hinges and latch. Fix the hinges to the frame and posts, and set the latch on the opposite side.
- Hang the gate and check the swing. Open and close it fully; it should clear the ground and post through the whole arc with no drag.
Welded Steel Frame vs Bolted or Wood Frame
Three ways to build the frame, and they're not equal.
A welded steel frame — square tube or angle iron with the corners fused solid — is the strong, permanent, no-sag choice. The joints become one continuous piece of metal, so nothing works loose. This is what a pro builds, and it pays you back for decades.
A bolted metal frame skips the welder, so it's friendlier for a DIY weekend. But bolts loosen. Every time the gate settles, those joints flex until the corners drift out of square and it sags.
A wood frame is the easiest and the weakest — it swells, shrinks, and rots at the joints. Fine for a light garden gate, but for daily use it won't hold its shape. If you want it to last, weld the steel.
Attaching the Welded Wire Mesh
With the frame square and braced, the mesh is the easy part — but keep it flat and tight. A saggy panel looks sloppy and rattles in the wind. Pull it snug and work from one side to the other so you don't trap a bulge in the middle.
Lock it down with weld tabs, clips, ties, or hog rings spaced evenly around the perimeter and along the brace, with a fastener near each corner so it can't peel back. If you weld the mesh on, keep the heat light — that thin wire burns through fast, and a blown hole is a weak spot. On finer or architectural work I'll reach for TIG welding for that clean, precise control.
Hinges, Latch, and Hanging It Straight
Hardware is where a lot of good frames get let down. Undersized hinges are the number-one killer of gates. They carry the full weight every second of every day, so size them to the gate — heavy-duty and weather-resistant, not the light pair from a bargain kit.
Use at least two hinges, three on a tall or heavy gate, spread out for leverage. Offset the hinge pin so the gate swings clear of the post through its full arc. Set the latch on the opposite side and check that it lines up when the gate is closed. Then hang it, swing it a few times, and watch the bottom edge — it should stay level and clear the ground the whole way.
Stop the Sag: Which Way the Brace Goes
This is the tip that saves your gate, and the one most people get backwards.
A gate wants to droop at the far bottom corner, away from the hinges — gravity pulls it down and out. The brace's job is to fight that, and which way it runs depends on the type.
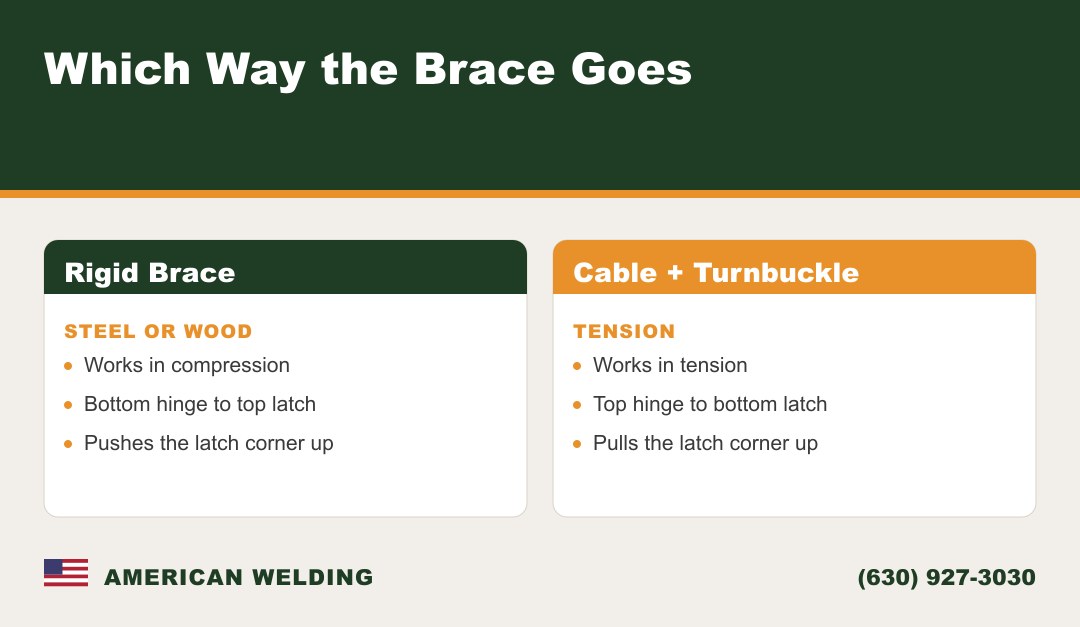
A rigid brace — a steel bar or wood board — works in compression: it pushes. So it runs from the bottom corner on the hinge side up to the top corner on the latch side. The sagging corner presses down onto the brace, and the brace props it up like a strut.
A cable and turnbuckle is the opposite. A cable works in tension — it can only pull. So it runs from the top hinge corner down to the bottom latch corner, and you snug the turnbuckle to lift the sagging corner back up.
Run a rigid brace the cable way, or a cable the rigid way, and you don't just lose the support — you help the gate sag faster.
Common Mistakes That Ruin a Gate
After decades of fixing other people's gates, I see the same mistakes over and over:
- Not squaring the frame before welding. Weld it out of square and it's out of square forever.
- Building the gate too wide for the opening. No clearance means it binds and scrapes.
- Undersized hinges. They can't carry the weight, so the gate droops and the pins wear out.
- No diagonal brace, or bracing it the wrong way. An unbraced rectangle folds into a parallelogram; a backwards brace speeds that up.
- Leaving bare steel unpainted. Prime and paint it, or have it galvanized, or rust does the rest.
When to Have a Welder Build It
A simple light gate is a fair weekend project if you've got the tools and patience. But some jobs earn a call to a pro. If the gate is wide, tall, or heavy — a farm entrance or a double gate — the frame has to be welded steel and braced right, or it won't survive daily use. Driveway gates are the big one: they carry a lot of weight over a wide span, and any sag shows immediately. That's real custom fabrication — sizing the steel, welding it dead square, and hanging it so two leaves meet in the middle every time. With mobile welding I can build or repair a gate right at your property. When it has to be right the first time, a pro's welded gate services save you the do-over.
Service Areas
We build and repair gates on-site and in the shop across Chicagoland:
- DuPage County — Naperville, Wheaton, Downers Grove, Lisle, Oak Brook, Hinsdale
- Cook County — Chicago, Schaumburg
- Kane County — Aurora, St. Charles
- Will County, Kendall County, and McHenry County
Why Choose American Welding for Gates
I'm Pete Adams, and I've been on the torch for about 37 years — American Welding has built and fixed steel around Chicago and DuPage County since 1989. Gates are bread-and-butter work for us: fence gates, walk gates, and full driveway gates, welded square and braced to stay that way.
You get a clear quote before any work starts, no surprise trip fees, and workmanship guaranteed in writing. We're fully insured and set up every job carefully, in the shop or rolling out to your place in Naperville.
Frequently Asked Questions
How much narrower than the opening should the gate be?
About an inch — roughly a half-inch of clearance on each side. That leaves room for the hinges and lets the gate swing free even when the ground or posts shift a little.
Which way should the diagonal brace run?
For a rigid steel or wood brace, run it from the bottom hinge-side corner up to the top latch-side corner, so it works in compression. For a cable and turnbuckle, run it the opposite way — top hinge corner to bottom latch corner — because a cable can only pull.
Do I have to weld the frame, or can I bolt it?
You can bolt it, but bolted and wood frames loosen and sag over time. A welded steel frame becomes one solid piece and holds its shape for decades. For anything heavy or high-use, welded is the way.
Why does my gate sag over time?
Almost always one of three things: no diagonal brace (or one running the wrong way), hinges too small for the weight, or a frame that was never square. Fix those and the sag goes away.
How do I keep the gate from rusting?
Don't leave bare steel exposed. Prime and paint it with an exterior finish, or have it galvanized. Sealing the metal keeps a steel gate strong outdoors.
What does a gate cost?
It depends on the size, steel, and hardware, so we give you a clear quote before any work starts — no surprise trip fees.
Ready for a Gate That Won't Sag or Rust?
Whether you need a simple walk gate or a full driveway gate welded square and built to last, we'll size it right, brace it right, and hang it straight the first time. No sag, no drag, no do-overs.
Call or text (630) 927-3030 or email pete@americanwelding.us to walk through your project.