How to Install Stainless Steel Wall Panels in a Commercial Kitchen
Grease sticks to drywall. It hides in tile grout. It fails inspections.
Stainless steel wall panels solve all three.
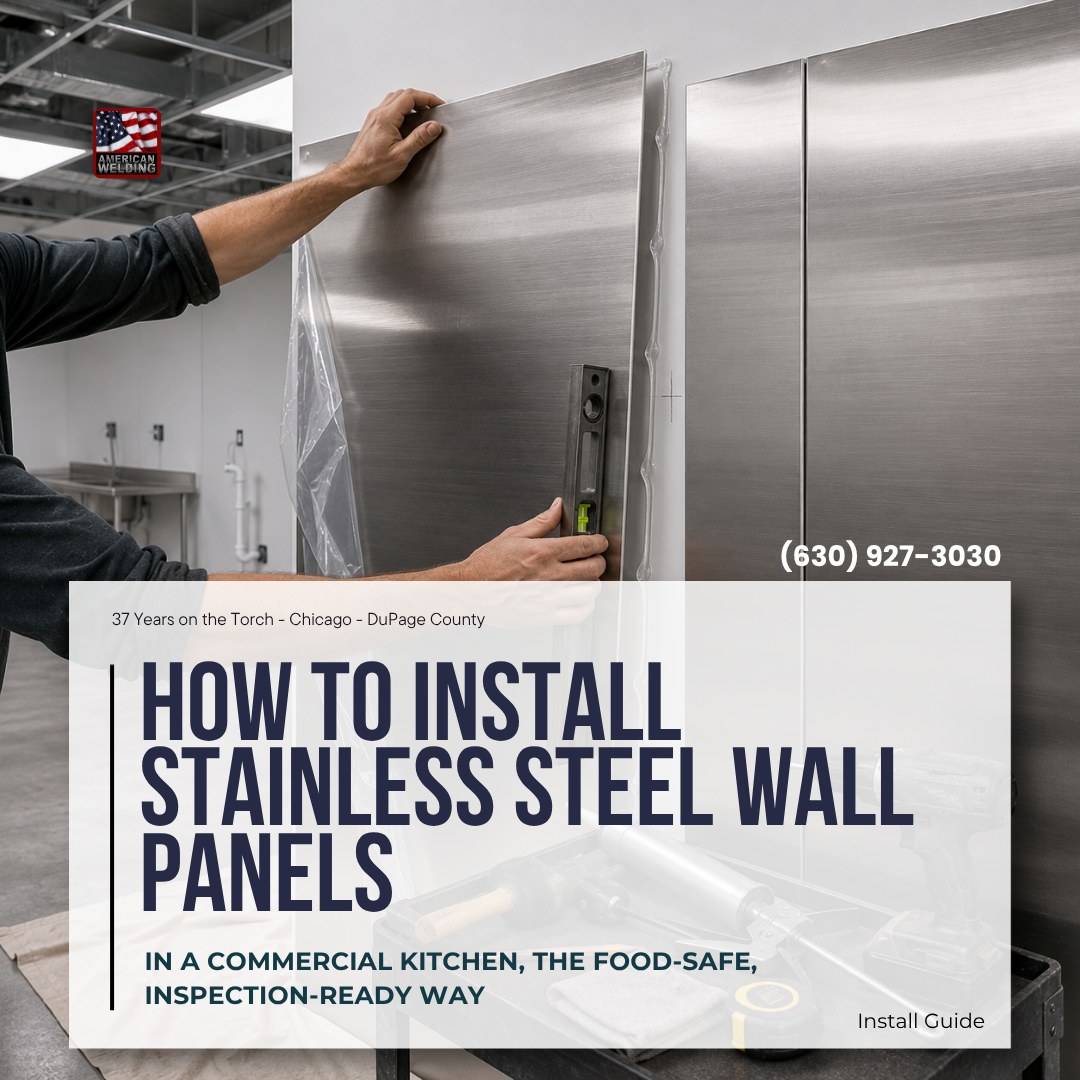
To install stainless steel panels the right way, you glue the field of each panel to the wall with commercial panel adhesive, then lock the edges and corners down with mechanical fasteners. That combination is what makes the job last.
Below is how we do it on real jobs across Chicago and DuPage County — measure, cut, dry-fit, bond, fasten, seal. Done carefully, the wall outlasts the building. Rushed, it bubbles, buckles, or grows a mold line you can't wipe out.
The Short Answer: How Stainless Panels Go Up
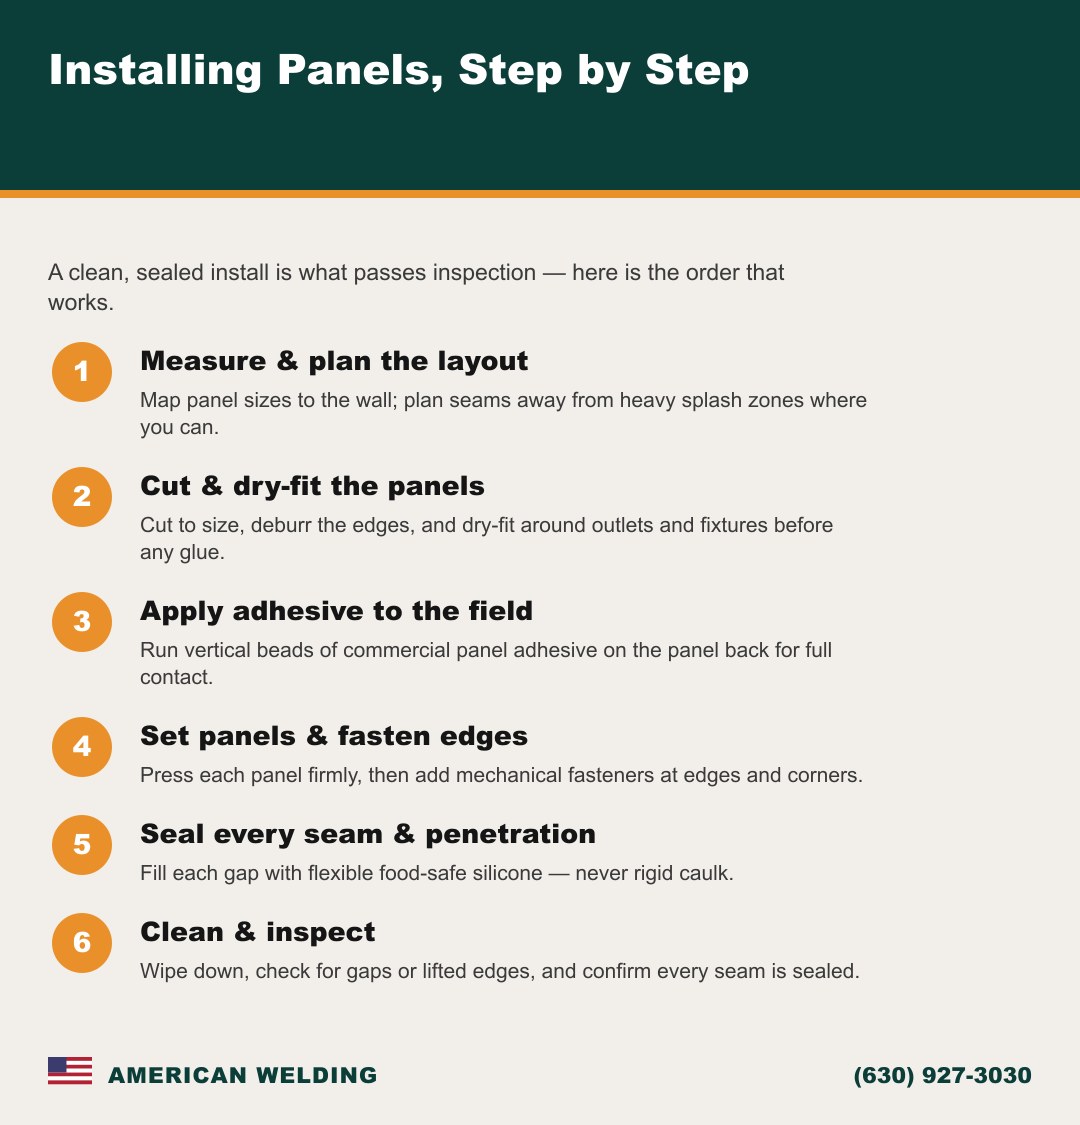
Here is the job in one breath. Measure the wall and plan your layout. Cut each panel to fit, including holes for outlets and fixtures. Dry-fit every piece before glue comes out. Then run vertical beads or a zig-zag of commercial panel adhesive across the back for full contact, press the panel to the wall, and set it.
Adhesive holds the flat field. Mechanical fasteners — screws at the edges and corners — hold the perimeter so nothing peels. Using both is the strongest, longest-lasting approach for any panel facing heat, steam, or daily scrubbing. Then seal every seam, gap, and wall penetration with food-safe silicone to keep water and grease out from behind the metal.
Why Commercial Kitchens Line Walls With Stainless
Stainless earns its place for a few plain reasons.
- It wipes clean — no grout lines, no porous surface for grease and bacteria.
- It shrugs off water and steam without rotting the wall behind it.
- Behind a cook line it adds a fire-resistant, easy-to-clean surface right where flare-ups happen.
- It takes years of hot pans, cart bumps, and scrubbing without looking beat up.
Our companion guide "Why Do Commercial Kitchens Use Stainless Steel" covers the material in depth. For walls, the short version: a sealed stainless surface is the easiest surface in the building to keep clean, and a clean surface is what passes inspection.
What You Need Before You Start
A panel job is only as good as the prep. Gather everything first.
- Stainless panels cut to size (304 grade is the usual choice for kitchen walls).
- Commercial panel adhesive rated for metal-to-wall bonding.
- Stainless mechanical fasteners, with trim washers or caps where they show.
- Flexible, food-grade silicone sealant — not rigid caulk.
- Tin snips or shears, a fine-tooth metal blade, and a deburring tool.
- Tape measure, level, chalk line, square, caulk gun, and clean rags.
Two things matter before you touch a panel. The wall should be sound, dry, and clean, because adhesive needs something solid to grab. And let the panels sit in the room first so the metal is at room temperature — a cold panel bonds differently than a warm one.
How to Install Stainless Steel Panels, Step by Step
Here is the sequence we follow. Work one panel at a time and never skip the dry-fit.
- Measure and plan the layout. Map the wall, mark studs and every outlet and fixture, and plan joints for sensible spots with as few seams as possible. Snap a level chalk line for the first panel — everything references off it.
- Cut the panels. Transfer measurements and cut clean, straight lines. Mark and cut the openings for outlets and fixtures now, while the panel is flat.
- Dry-fit every piece. Hold each panel to the wall before glue comes out. Check the fit around outlets, corners, and the ceiling line, and fix problems here.
- Apply the adhesive. Run commercial panel adhesive on the back in vertical beads or a zig-zag across the whole field for full contact. Even coverage stops bubbling and drumming.
- Set the panel. Line it up to the chalk line, press it flat, and work from the center outward to push out air, using firm, even pressure across the whole face.
- Add mechanical fasteners at the edges. Screw the edges and corners into solid backing. This locks the perimeter while the adhesive cures and stops the panel peeling at a corner.
- Seal the seams. Run food-safe silicone into every seam, gap, and wall penetration, and tool it smooth. This makes the wall waterproof and inspection-ready.
- Finish and inspect. Peel any protective film, wipe down, and check every joint and screw for a tight, sealed, deburred edge. Nothing sharp, nothing open, nothing loose.
Adhesive vs Mechanical Fastening: Which to Use
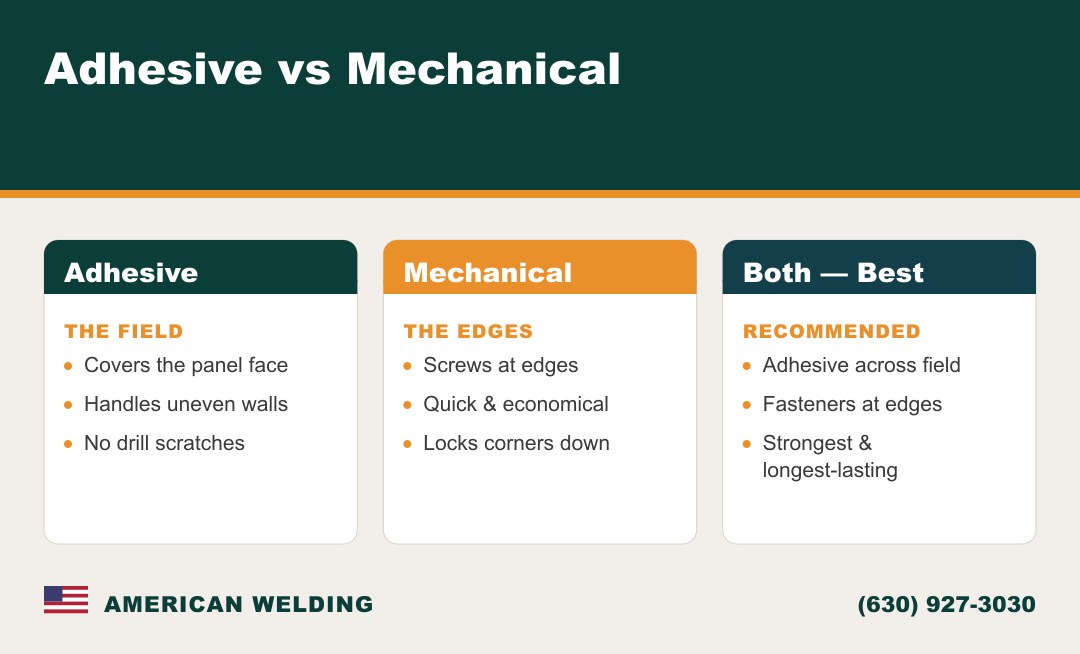
People ask whether to glue or screw. The honest answer is both. Adhesive spreads the load across the whole back of the panel, so it is the better choice on uneven walls — the glue fills small gaps, pulls the metal flat, and means fewer holes and scratches through the face.
Mechanical fasteners are quick, economical, and hold edges and corners like nothing else. A screwed edge will not peel. What screws do not do well is hold the wide flat middle of a large panel — that is the adhesive's job.
So we combine them: adhesive across the field, fasteners at the edges and corners. That is the strongest, longest-lasting way to hang stainless on any wall facing heat, steam, and daily cleaning.
Sealing the Seams and Edges the Food-Safe Way
If one step separates a professional install from a leaky headache, this is it. Every seam between panels, every edge at the floor and ceiling, and every hole cut for an outlet or pipe gets sealed with a flexible, food-grade silicone.
Leave a small gap — roughly a sixteenth of an inch — between panels rather than jamming them tight. That gap gives the silicone something to grab and gives the metal room to expand when the kitchen heats up. Fill it and tool it into a smooth bead. Do not use rigid caulk; it cracks as the panels move, and steam finds its way behind the metal.
Unsealed seams are a top reason a stainless wall fails inspection. An open gap behind a panel becomes a hidden home for bacteria and pests, right where nobody can clean it. Seal everything, and the wall passes.
Cutting Around Outlets, Corners, and Fixtures
The flat runs are easy. The cutouts are where craftsmanship shows. Measure twice for every outlet, switch, faucet, and pipe, and transfer those marks onto the panel while it is flat on the bench. Cut openings a hair generous so the cover plate hides the edge and you have room to seal around it. After every cut, deburr the edge — raw stainless is sharp enough to cut a hand and rough enough to catch grease.
Corners are their own puzzle. You can butt two panels on a square corner and seal the joint, but a crisp result usually calls for a formed corner piece or trim so the seam stays tight and wipeable. When the corners have to be perfect, that is a good time to bring in a fabricator.
Common Mistakes That Fail Inspection
Most panel failures trace back to the same short list of shortcuts.
- Skipping the seal. Open seams and unsealed penetrations are the number-one failure. Every gap gets food-safe silicone.
- Using rigid caulk. It looks fine on day one, cracks in a month, and leaks after that.
- Thin or spotty adhesive. Too little glue and the panel bubbles and drums. Full-field coverage, always.
- No fasteners at the edges. Glue alone lets corners lift over time. Lock the perimeter down.
- Sharp, un-deburred edges. A cut hazard and a dirt trap. Every cut edge gets smoothed.
- No expansion gap. Stainless expands with heat; give it room or it oil-cans and buckles.
When to Bring In a Fabricator
Plenty of straight panel work is a solid DIY job. But off-the-shelf panels only go so far. When you need a one-piece backsplash with no seams behind a cook line, a custom hood surround, formed corners, or a run that wraps odd angles, that is custom fabrication. We build stainless panels to exact size, weld the seams so there is no gap to seal at all, and finish them so the whole surface wipes as one clean piece. A seamless welded corner cannot be matched by butting two panels and running a bead of silicone.
That work leans on real restaurant stainless steel welding — mostly TIG welding, which lays down the cleanest, most precise bead for food-grade surfaces. Our guide "How to Weld Stainless Steel" walks through it. And because kitchens are hard to shut down, our mobile welding rig lets us fabricate and fit on site.
Service Areas
We install and fabricate stainless kitchen panels across Chicagoland, on site or in our shop.
- DuPage County — Naperville, Wheaton, Downers Grove, Lisle, Oak Brook, Hinsdale
- Cook County — Chicago, Schaumburg
- Kane County — Aurora, St. Charles
- Will County, Kendall County, and McHenry County
Why Choose American Welding for Stainless Panels
American Welding is owned and run by Pete Adams, a veteran welder on the torch since 1989 — about 37 years of stainless work behind cook lines, prep stations, and dish pits. This is a job where experience shows in the details: the tight seam, the sealed corner, the panel that still looks new after five years of scrubbing.
We work mobile and in-shop, we are fully insured on every job, and we set the work area up carefully so your kitchen stays protected. You get a clear quote before any work starts, with no surprise trip fees, and our workmanship is guaranteed in writing. When it has to be done right the first time, that is the call to make.
Frequently Asked Questions
Related reading: why restaurants choose stainless steel.
Can I install stainless steel wall panels myself?
Straight runs of pre-cut panel are a realistic DIY job if you are careful with layout, adhesive coverage, and sealing. The trouble spots are corners, cutouts, and any seamless welded work — that is where a pro install pays for itself.
Do stainless panels get glued or screwed to the wall?
Both. Commercial panel adhesive holds the flat field of the panel, and mechanical fasteners lock the edges and corners. The combination is stronger and longer-lasting than either alone.
What sealant should I use on the seams?
A flexible, food-grade silicone. It flexes as the metal expands with heat and keeps water and grease out. Rigid caulk cracks and leaks, so it should never go on kitchen panels.
Why leave a gap between panels?
Stainless expands when the kitchen heats up. A gap of about a sixteenth of an inch gives the metal room to move and the silicone something to grip. Jamming panels tight leads to buckling and oil-canning.
What grade of stainless is used for kitchen walls?
304 is the everyday choice for kitchen walls, hoods, and prep areas. In wet, salty, or chemical-heavy spots, 316 adds extra corrosion resistance. We help you pick the right grade for the room.
Can you make a seamless stainless wall?
Yes. With custom fabrication and welding, we build panels and corners as one continuous surface with no seam to fail — the cleanest, most durable option behind a cook line.
Ready for Stainless Panels Installed Right?
Clean walls keep a kitchen running and keep the inspector happy. Whether you need a straightforward panel install or a fully welded, seamless stainless surface behind your cook line, we will build it to last and finish it so it wipes clean for years.
Call or text (630) 927-3030 or email pete@americanwelding.us to walk through your project.