How to Install a Stair Railing to a Wall
A wall-mounted handrail has one job.
Hold a person when they slip.
So it lives or dies on what it is bolted into.
If you want to install a stair railing to a wall the right way, the trick is not the rail itself. It is finding the framing behind the drywall and anchoring your brackets into solid wood. A handrail screwed into hollow drywall looks fine for a year, then someone grabs it hard on the way down and it rips out. That is the failure we get called to fix most. Here is the whole job the way an installer does it. If you are still deciding where the rail begins and ends, read the companion piece Where Should a Stair Railing Start first, then come back for the mounting.
The Short Answer: Installing a Wall-Mounted Handrail
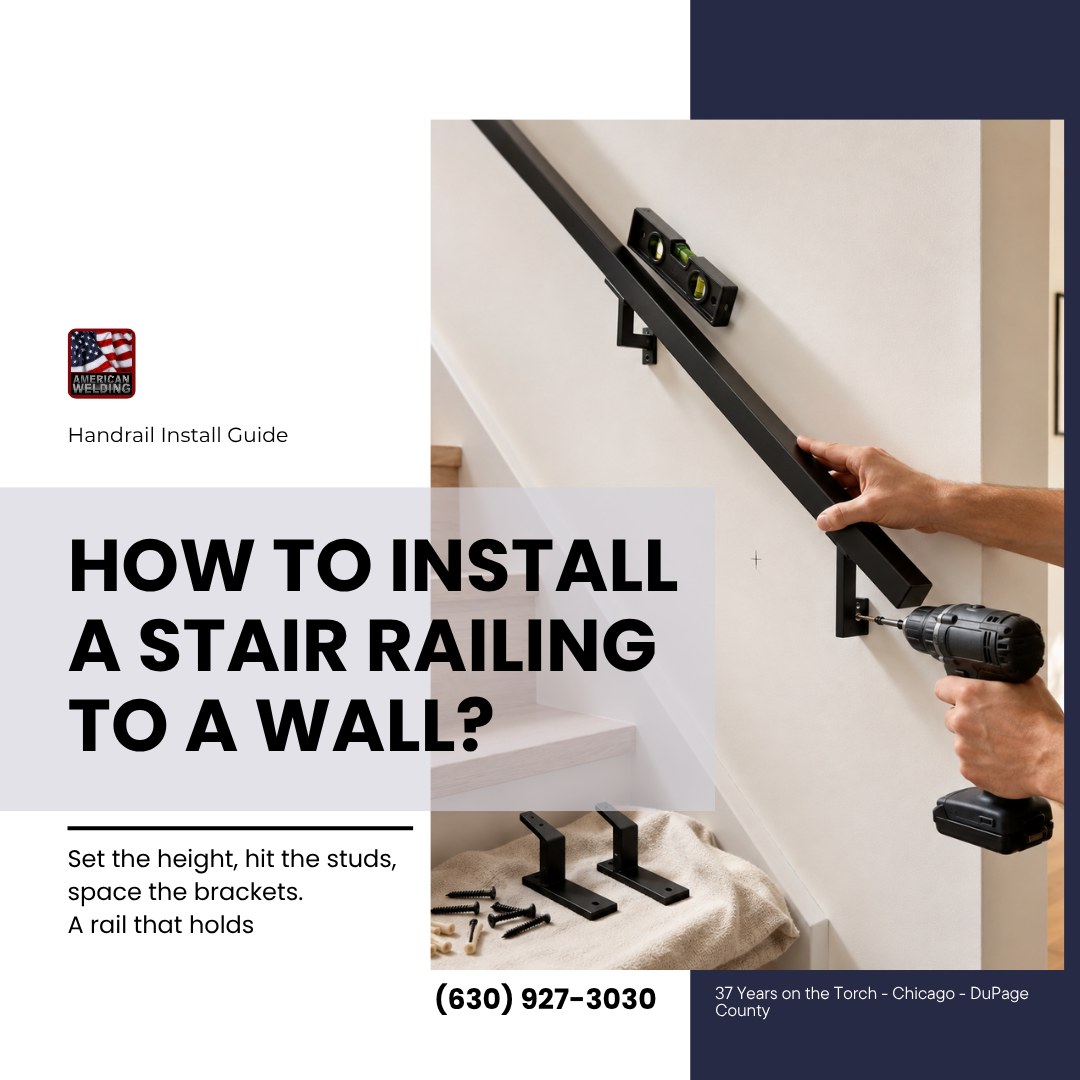
Set the rail height at 34 to 38 inches, measured straight up from the front edge of each stair tread, with 36 inches being the comfortable sweet spot. Snap a chalk line up the wall parallel to the stair slope. Find the studs with a stud finder and mark them. Put a bracket near the top, one near the bottom, and one every four feet in between, landing each on a stud. Drill pilot holes, screw the brackets in tight, set the rail on top, and fasten it. Then hang your weight on it. If it does not budge, you did it right.
Set the Height First
Height comes before everything, because every bracket sits on the same line. Stand on the stairs and measure straight up from the nosing, that front lip of the tread, to the top of the rail. Most building codes want a handrail between 34 and 38 inches, and 36 is where most hands fall naturally. Mark that height at the top and bottom steps, then snap a chalk line between the marks. That line runs at the same angle as the staircase and is the most important reference on the job. Every bracket mounts to it. If the rail is not parallel to the stairs, your eye catches it and it feels wrong under the hand.
Find the Studs, or Anchor It Right
Behind your drywall, wood studs sit every 16 inches in most homes. Those are what you want to hit. A cheap magnetic stud finder locates the screws in each stud, which tells you where the solid wood is. Mark each one along your chalk line.
Studs do not always land where you want a bracket. When one does not, drywall anchors are the fallback, and they are a distant second. Drywall is gypsum and paper, never meant to carry an adult lurching sideways. A handrail has to hold a person's full weight thrown against it in a panic, so we anchor into studs whenever we can and treat anchors as a last resort. When studs and spacing simply do not line up, the real fix is a wood backing board behind the drywall, which is worth handing to a pro.
How to Install a Stair Railing to a Wall, Step by Step
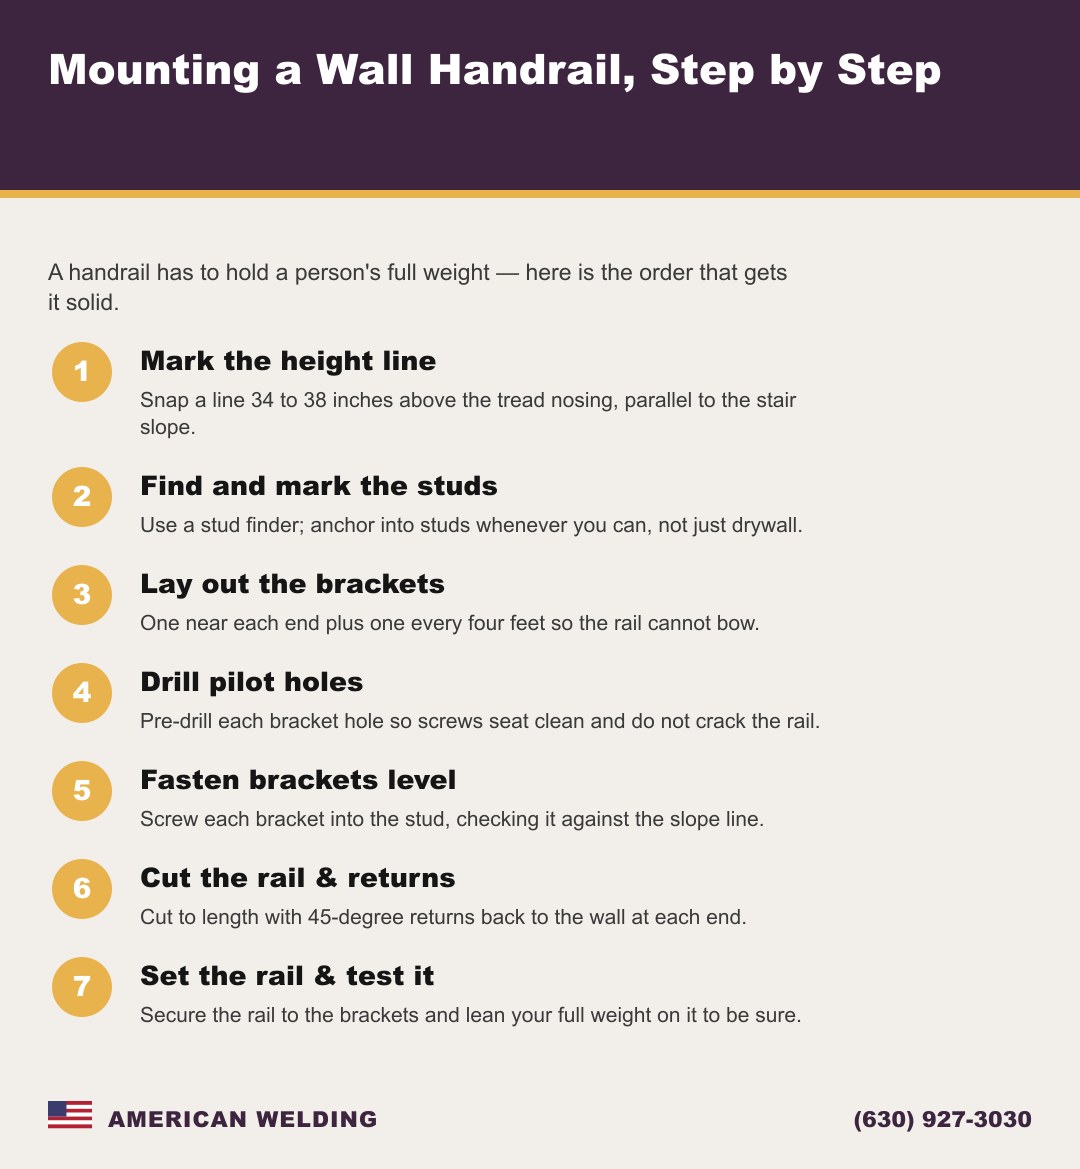
- Mark the height line. Measure 34 to 38 inches up from the nosing at the top and bottom steps, then snap a chalk line between them, parallel to the slope.
- Find and mark the studs. Run a stud finder along the line and pencil in every stud you cross.
- Position the brackets. One near each end of the run, then the rest no more than four feet apart, sliding each to land on a stud.
- Drill pilot holes. Hold each bracket on its mark, level to the slope line, and drill a pilot for every screw so the wood does not split.
- Fasten the brackets to the studs. Drive the screws in tight so each bracket sits flush. Long screws that bite deep into the stud carry the load.
- Cut the rail and make the returns. Measure the full length, cut the rail, and cut 45-degree returns so the ends curl back to the wall.
- Set the rail on the brackets and secure it. Lay the rail into the saddles and fasten from underneath so no screw heads show on the grip.
- Check that it holds weight. Pull down and out, hard, at the top, middle, and bottom. It should not flex, shift, or creak.
Bracket Spacing: The Four-Foot Rule
The rule of thumb is one bracket at least every four feet, which is 48 inches, plus a bracket near each end of the run. That end support matters, because the ends take the hardest yank when someone stumbles at the top or bottom.
Four feet is the ceiling, not the goal. If your studs fall at 16-inch spacing and you can grab one every 32 inches, do it. More brackets means less flex and a rail that feels rock solid instead of springy. On a long stair, a rail supported only at the ends will bow in the middle. Space them close, keep every one level to your slope line, and the rail feels like it grew out of the wall.
Cutting the Rail and Making Returns
A rail cut square and left open on the end is a hazard. A loose sleeve or coat pocket catches that open end and stops you cold, the opposite of what a handrail is for. The fix is a return, where the last few inches turn 45 degrees and run back to the wall, closing off the end.
You make a return with two 45-degree cuts joined into a tidy corner that tucks back to the drywall. On a wood rail this is a miter and a little glue. On a steel handrail the return is welded, and a ground-smooth return is both safer and better looking than any bolt-on end cap. That kind of custom fabrication is bread and butter for a metal shop. With TIG welding we join the return, dress the joint flush, and finish it so the seam all but disappears under your hand.
Into a Stud vs Into Drywall
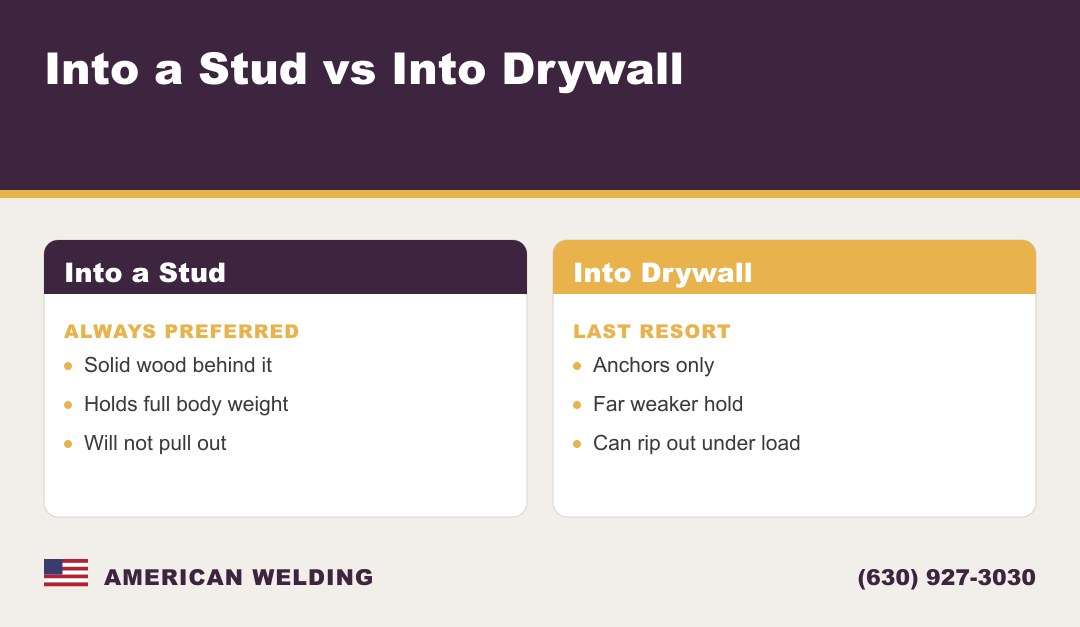
This is the difference between a handrail and a decoration. A bracket lagged into a wood stud pulls against inches of dense framing. That is a connection you can trust with your life, which is literally what you do every time you use it.
A bracket held only by drywall anchors relies on a thin layer of gypsum to grip a spreading toggle. It can feel tight the day you install it, then the problem shows up months later, when repeated tugs chew out the hole and the anchor loosens. If a stud is not where you need a bracket, add solid blocking behind the wall or move the bracket to a stud. When in doubt, into the stud, every time.
Common Mistakes That Pull Out of the Wall
- Anchoring only into drywall. The number one cause of a handrail letting go. Drywall was never built to hold a falling adult.
- Brackets too far apart. Spans over four feet leave the rail springy and overload the brackets that are there.
- Not hitting the studs. Guessing at stud locations means half your screws bite nothing but crumbly gypsum.
- Rail not parallel to the slope. Skipping the chalk line leaves a rail that wanders and feels wrong under the hand.
- No end returns. Open rail ends snag clothing and bags, turning a safety device into a trip hazard.
When to Have a Pro Mount It
Plenty of homeowners can hang a straight wood rail where the studs land right. It gets tricky when the studs and brackets refuse to line up, when the wall is plaster or masonry, or when you want a steel rail built for an odd staircase. A metal handrail almost always means welding, and a welded rail with clean returns and a lasting finish is not a weekend job. As a mobile welding outfit, we bring the shop to your stairs, measure the actual run, and build the rail to fit rather than forcing a stock one to work. If you are building the rail from scratch, our companion guide How to Build a Handrail for Indoor Steps covers that side. When it has to hold weight and be done right the first time, a pro mounts it solid and guarantees the work in writing.
Service Areas
We install and build custom stair railings on-site across Chicagoland, mobile and in-shop.
- DuPage County — Naperville, Wheaton, Downers Grove, Lisle, Oak Brook, Hinsdale
- Cook County — Chicago, Schaumburg
- Kane County — Aurora, St. Charles
- Will County, Kendall County, and McHenry County
Why Choose American Welding for Handrails
American Welding is Pete Adams, a veteran welder who has been on the torch about 37 years, in business since 1989. That is a lot of stairs and a lot of railings still holding today. When you call, you get the man who does the work, not a middleman. We do custom fabrication and mobile welding, so we build your handrail to fit your exact staircase and mount it where the framing actually is. Clean TIG welding, tight returns, and a rail bolted into solid studs. Every job is fully insured and the workmanship is guaranteed in writing.
Frequently Asked Questions
How high should a wall-mounted stair railing be?
Between 34 and 38 inches, measured straight up from the front edge of the tread. Most people find 36 inches the most comfortable, and that is a safe number to build to on a typical staircase.
How far apart should handrail brackets be?
No more than four feet, or 48 inches, apart, with an extra bracket near each end of the run. Closer is better. If your studs let you place a bracket every two or three feet, the rail feels noticeably more solid.
Can I mount a handrail into drywall without hitting a stud?
You can with heavy-duty toggle anchors, but you should not rely on it. Drywall is not built to hold a person's full weight in a fall. Always anchor into studs where you can, and add blocking behind the wall if a stud is not where you need it.
How do I find the studs behind the wall?
Run a magnetic or electronic stud finder along your marked height line. It picks up the screws in each stud so you can mark the solid wood. In most homes the studs sit 16 inches apart, center to center.
What is a handrail return and do I need one?
A return is where the end of the rail turns 45 degrees back to the wall so it does not stick out. You want one on both ends, because open ends snag sleeves and bags. On a steel rail we weld the return and grind it smooth.
What does it cost to install a stair railing?
It depends on the length of the run, the material, and whether we are building a custom steel rail or mounting one you have. We give you a clear quote before any work starts, with no surprise trip fees.
Ready for a Handrail Mounted Solid?
If you want a stair railing anchored into real framing and built to hold, not just screwed into drywall and hoped for, let us handle it. We build custom steel handrails and mount them solid across Chicago and DuPage County, mobile and in-shop, with the workmanship guaranteed in writing.
Call or text (630) 927-3030 or email pete@americanwelding.us to walk through your project.